Let's learn some HTML
Cats are not very fastidious record keepers by default, so they never know how many carrots they have planted. Or harvested. Or really what they’ve planted at all.
You figure that you should make a website for the cats to help keep their farm records in order. They’ve got a computer that they share in the house, and they’ve all got smart phones. They’ve vowed not to discuss iOS vs Android ever again, as they’ve only recently finished healing from the last skirmish.
The basic building blocks for a webpage are made using HTML. That stands for Hypertext Markup Language, if you care. It sounds very futuristic, but it’s really just a way to tell web browsers what the text we’re sending them means. We’ll just cover a bit here to introduce the concepts and get into more as we need to later on.
Paragraphs
Here’s an example:
<p>This is a paragraph.</p>That p tag tells the browser “hey, this is a paragraph.” Note the slash inside the second one – this marks the end of the paragraph.
Links
Another important tag is for making links. Links are also called anchors, which is important only because otherwise it’d be very confusing that it’s an a tag:
<a href="https://rubycat.farm">Ruby Cat Farm Rules</a>It might still be confusing. But don’t fret.
This bit of HTML makes a link to https://rubycat.farm with the text “Ruby Cat Farm Rules”.
“What is that href thing?”, you ask. Fair question. It stands for hypertext reference.
What, that’s not helpful? Basically it tells the browser where to link. It is an attribute of the a tag.
The original creators of HTML lived in a different time (1990) and were super nerds.
Pictures
Another important tag to know is for including pictures on a page. Not all the cats can read very well, and we want them to know what’s going on.
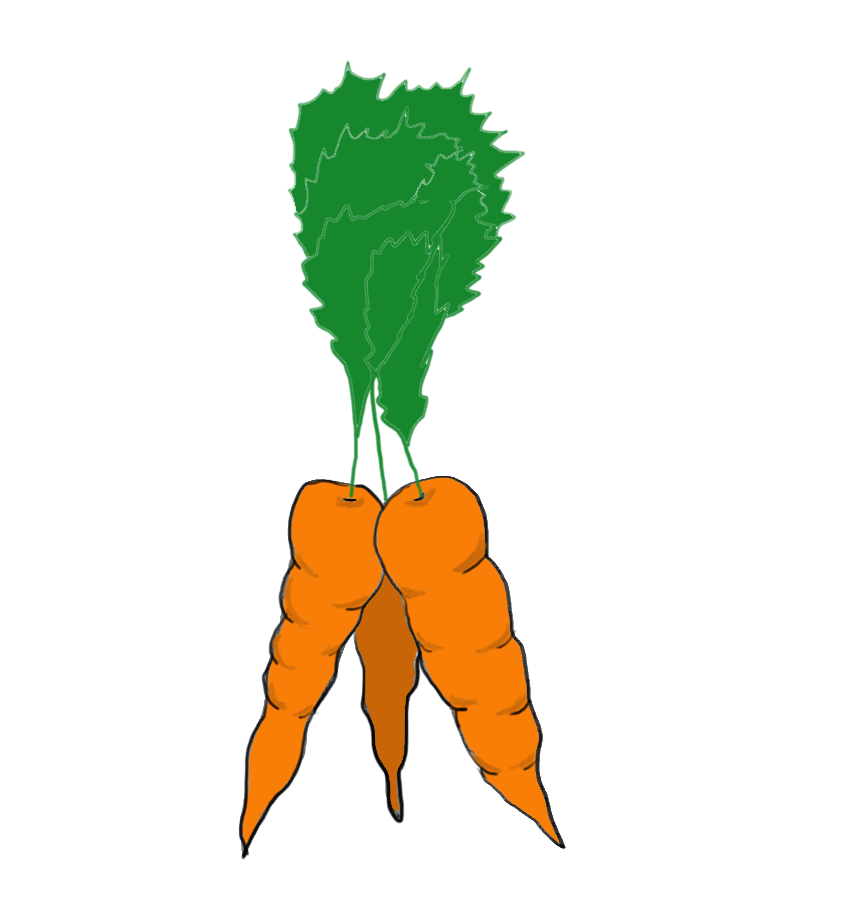
<img src="carrots.png" alt="Lovely bunch of carrots">The tag name for pictures at least makes sense – img for image. The src attribute points to the file for the image to include. The alt attribute allows an “alternate” value for the image. This is useful for screen readers so cats who can’t see very well can still know what’s in the image.
Divs
A <div> tag doesn’t do much. It stands for “division” and is just used to wrap distinct blocks of content, so you can use it to wrap different sections of content. For example:
<div>
  This is one section.
</div>
<div>
  This is another section.
</div>
Lists
There are two types of lists: ordered lists and unordered lists. If it’s an ordered list, it’ll get a number before each item. If it’s an unordered list, it’ll get a bullet (y’know, a circle). Here are some examples:
<ul>
  <li>Bulleted item one</li>
  <li>Bulleted item two</li>
</ul>

<ol>
  <li>Ordered item one</li>
  <li>Ordered item two</li>
</ol>
When viewed in the browser, that looks like:
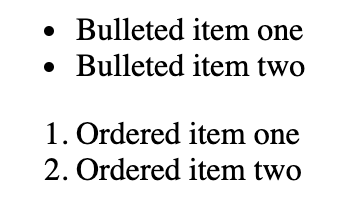
Delightful! The abbreviation for ordered list (ol), unordered list (ul), and list item (li) actually make sense.
The whole document
The basic layout for every HTML page looks looks this:
<html>
  <head>
    <title>This goes in the title bar</title>
  </head>
  <body>
    <p>Content goes in the body while information about the page generally goes in the head</p>
  </body>
</html>
Everything’s wrapped in an html tag – that tells the browser “hey, this stuff is HTML”. Inside that, there’s a head section and a body section. The head stuff is sort of information about the page. The title is what you see up in the tab for for a webpage. The body contains the actual content of the page.
Okay, now let’s see it!
If you put that in a text editor, save it as for_the_cats.html. Double click the file and it should open in your favorite web browser, and then revel in the glory of your first webpage. Great success.
Go ahead and try adding some of the other elements talked about in this chapter. Play around! Have fun!